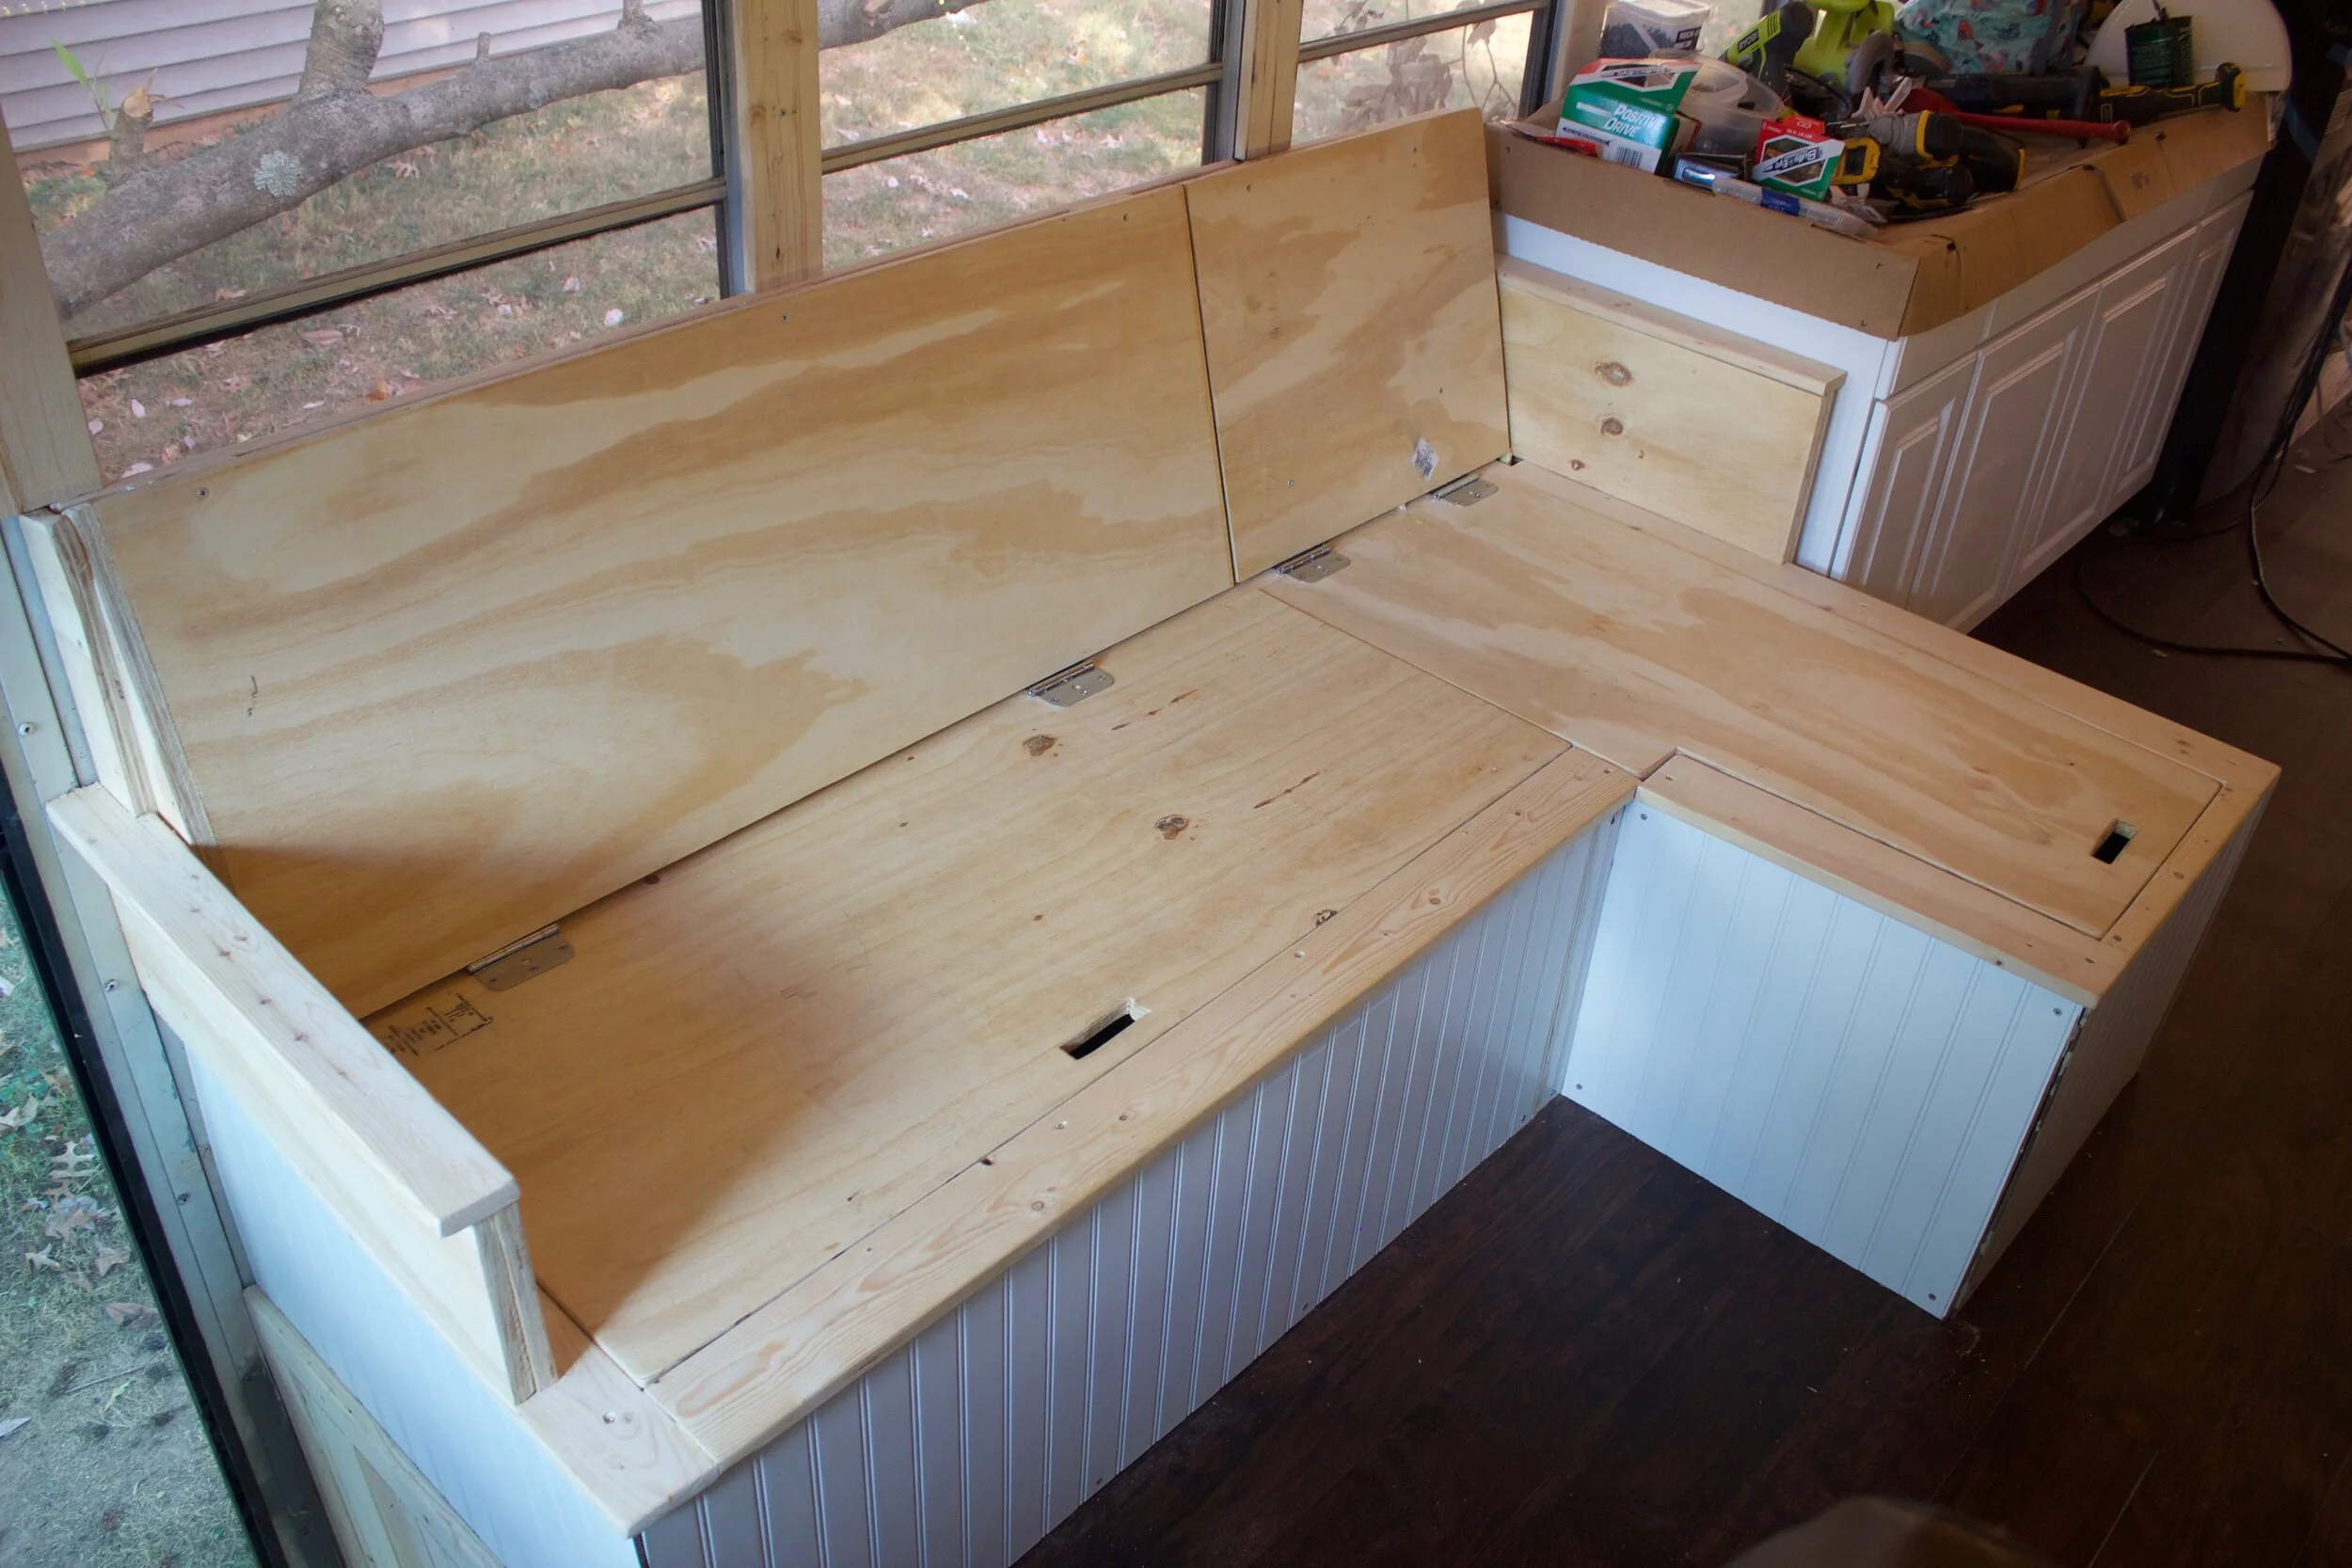
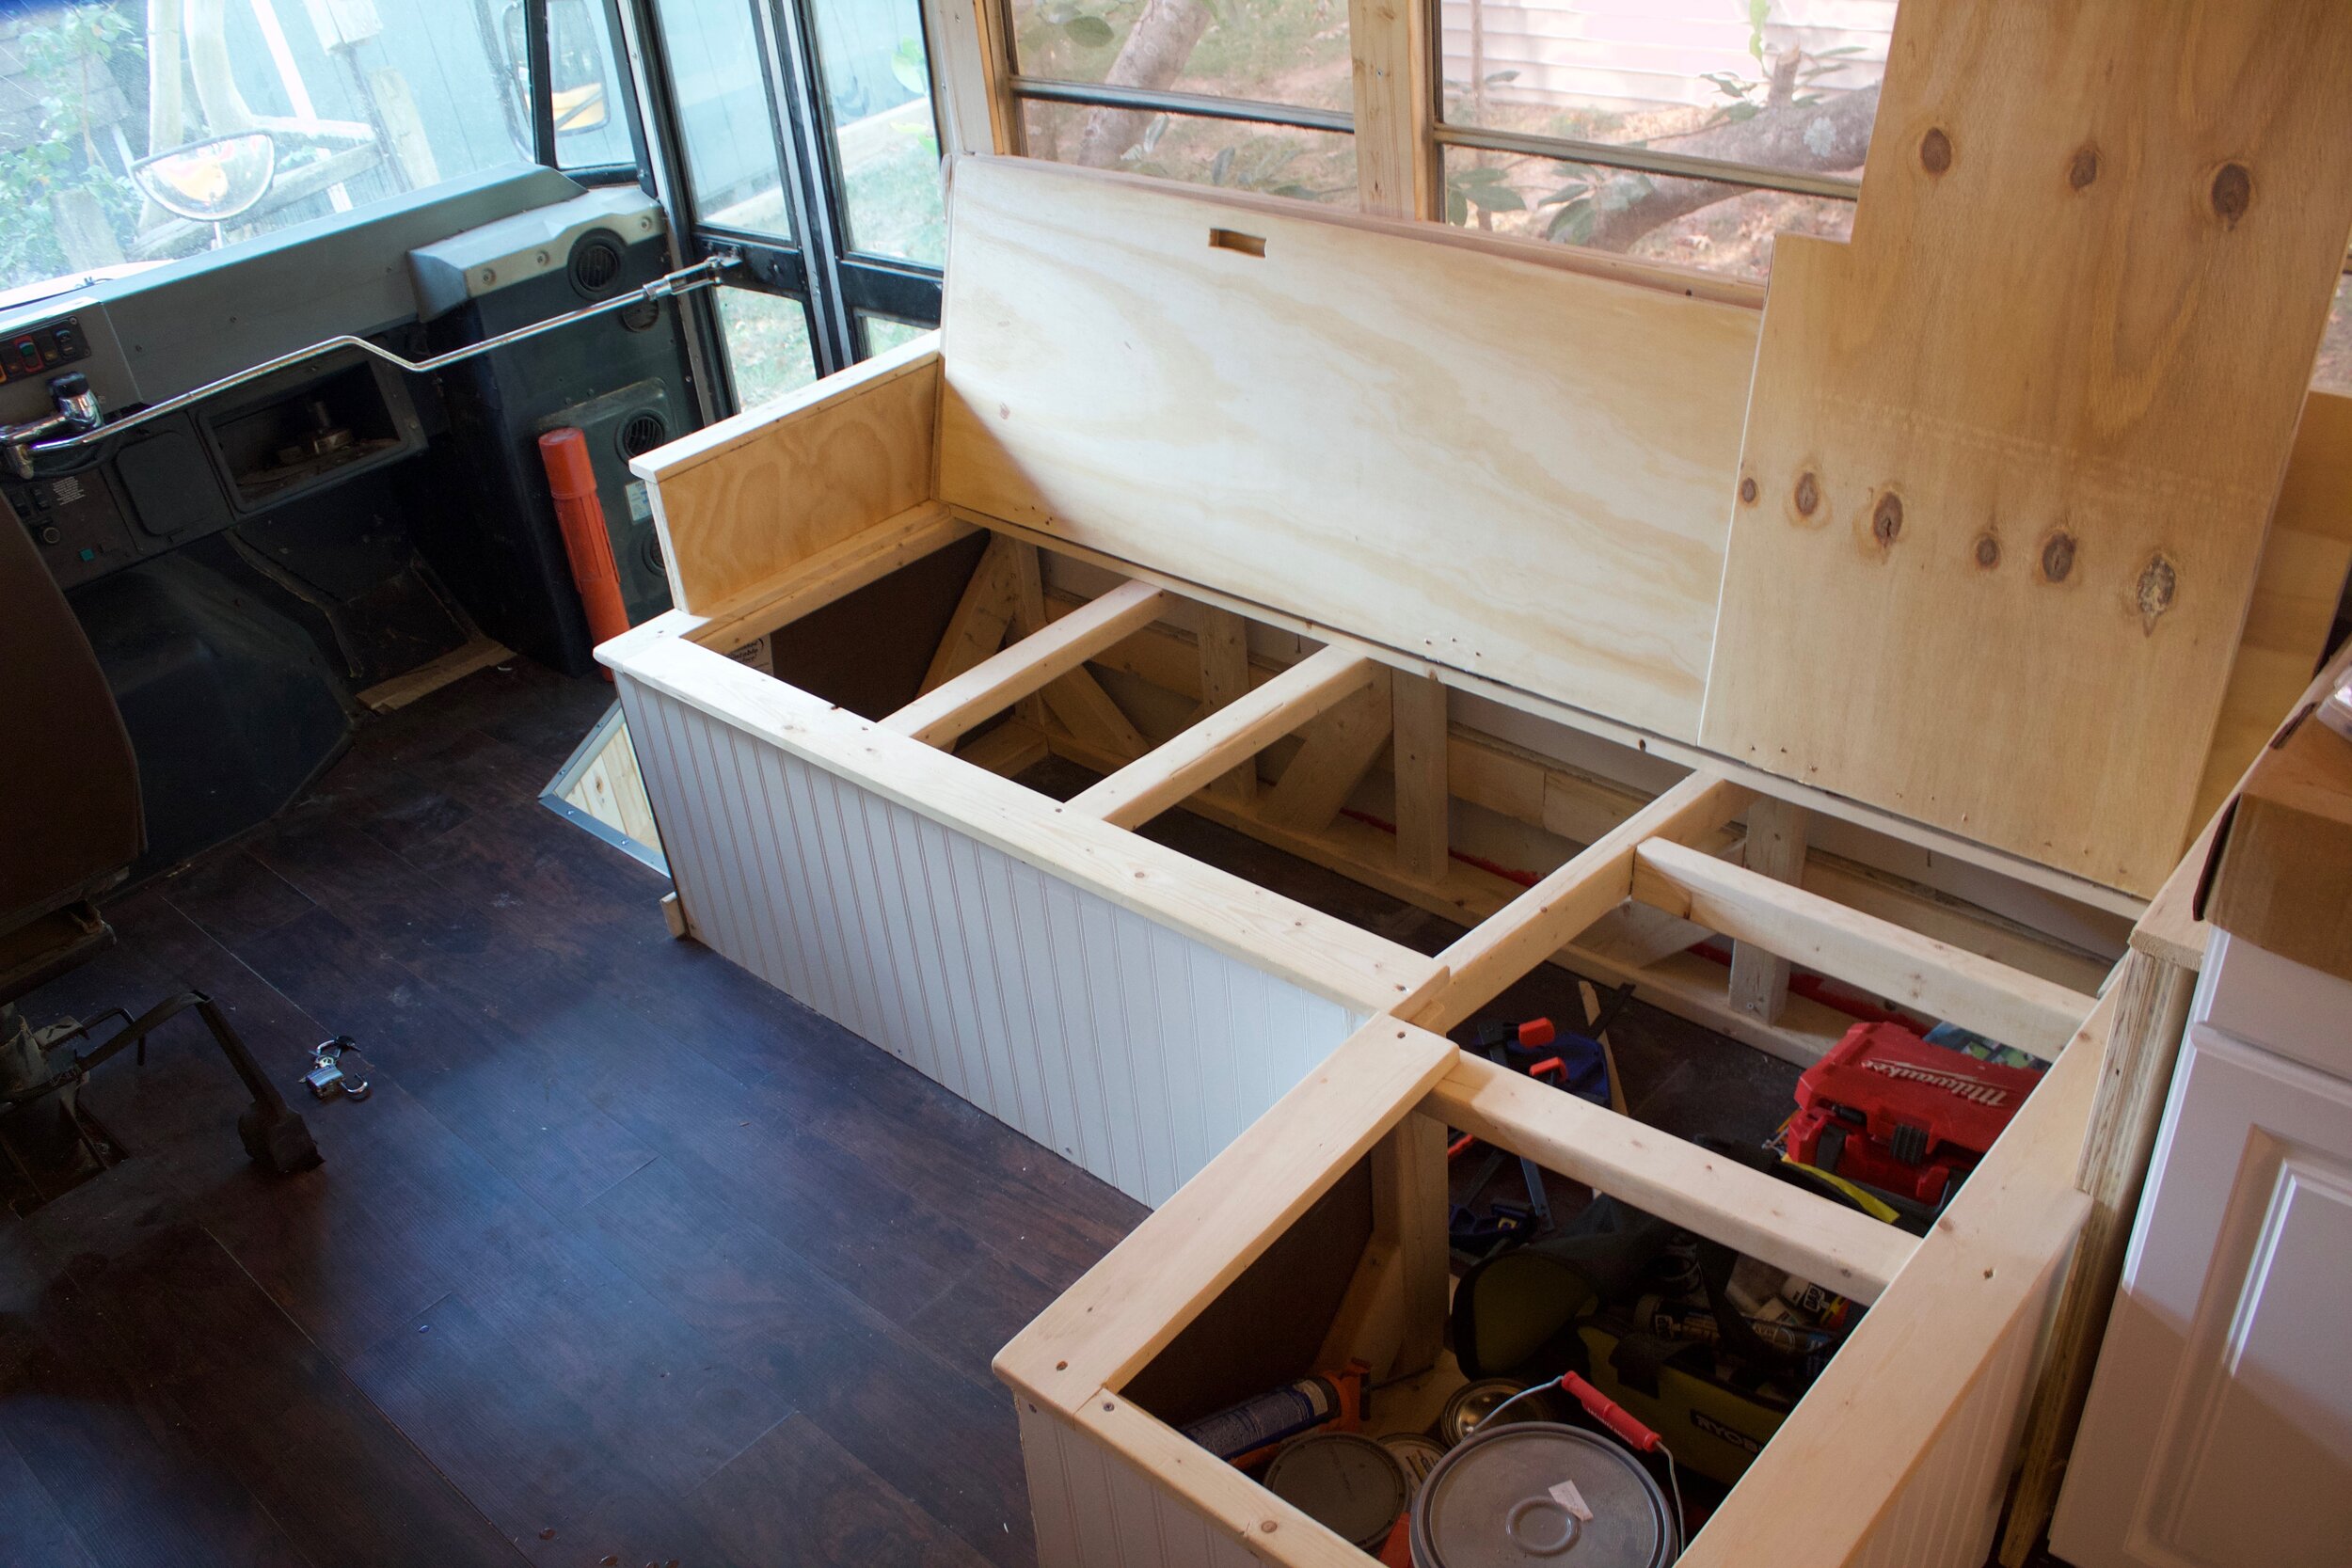
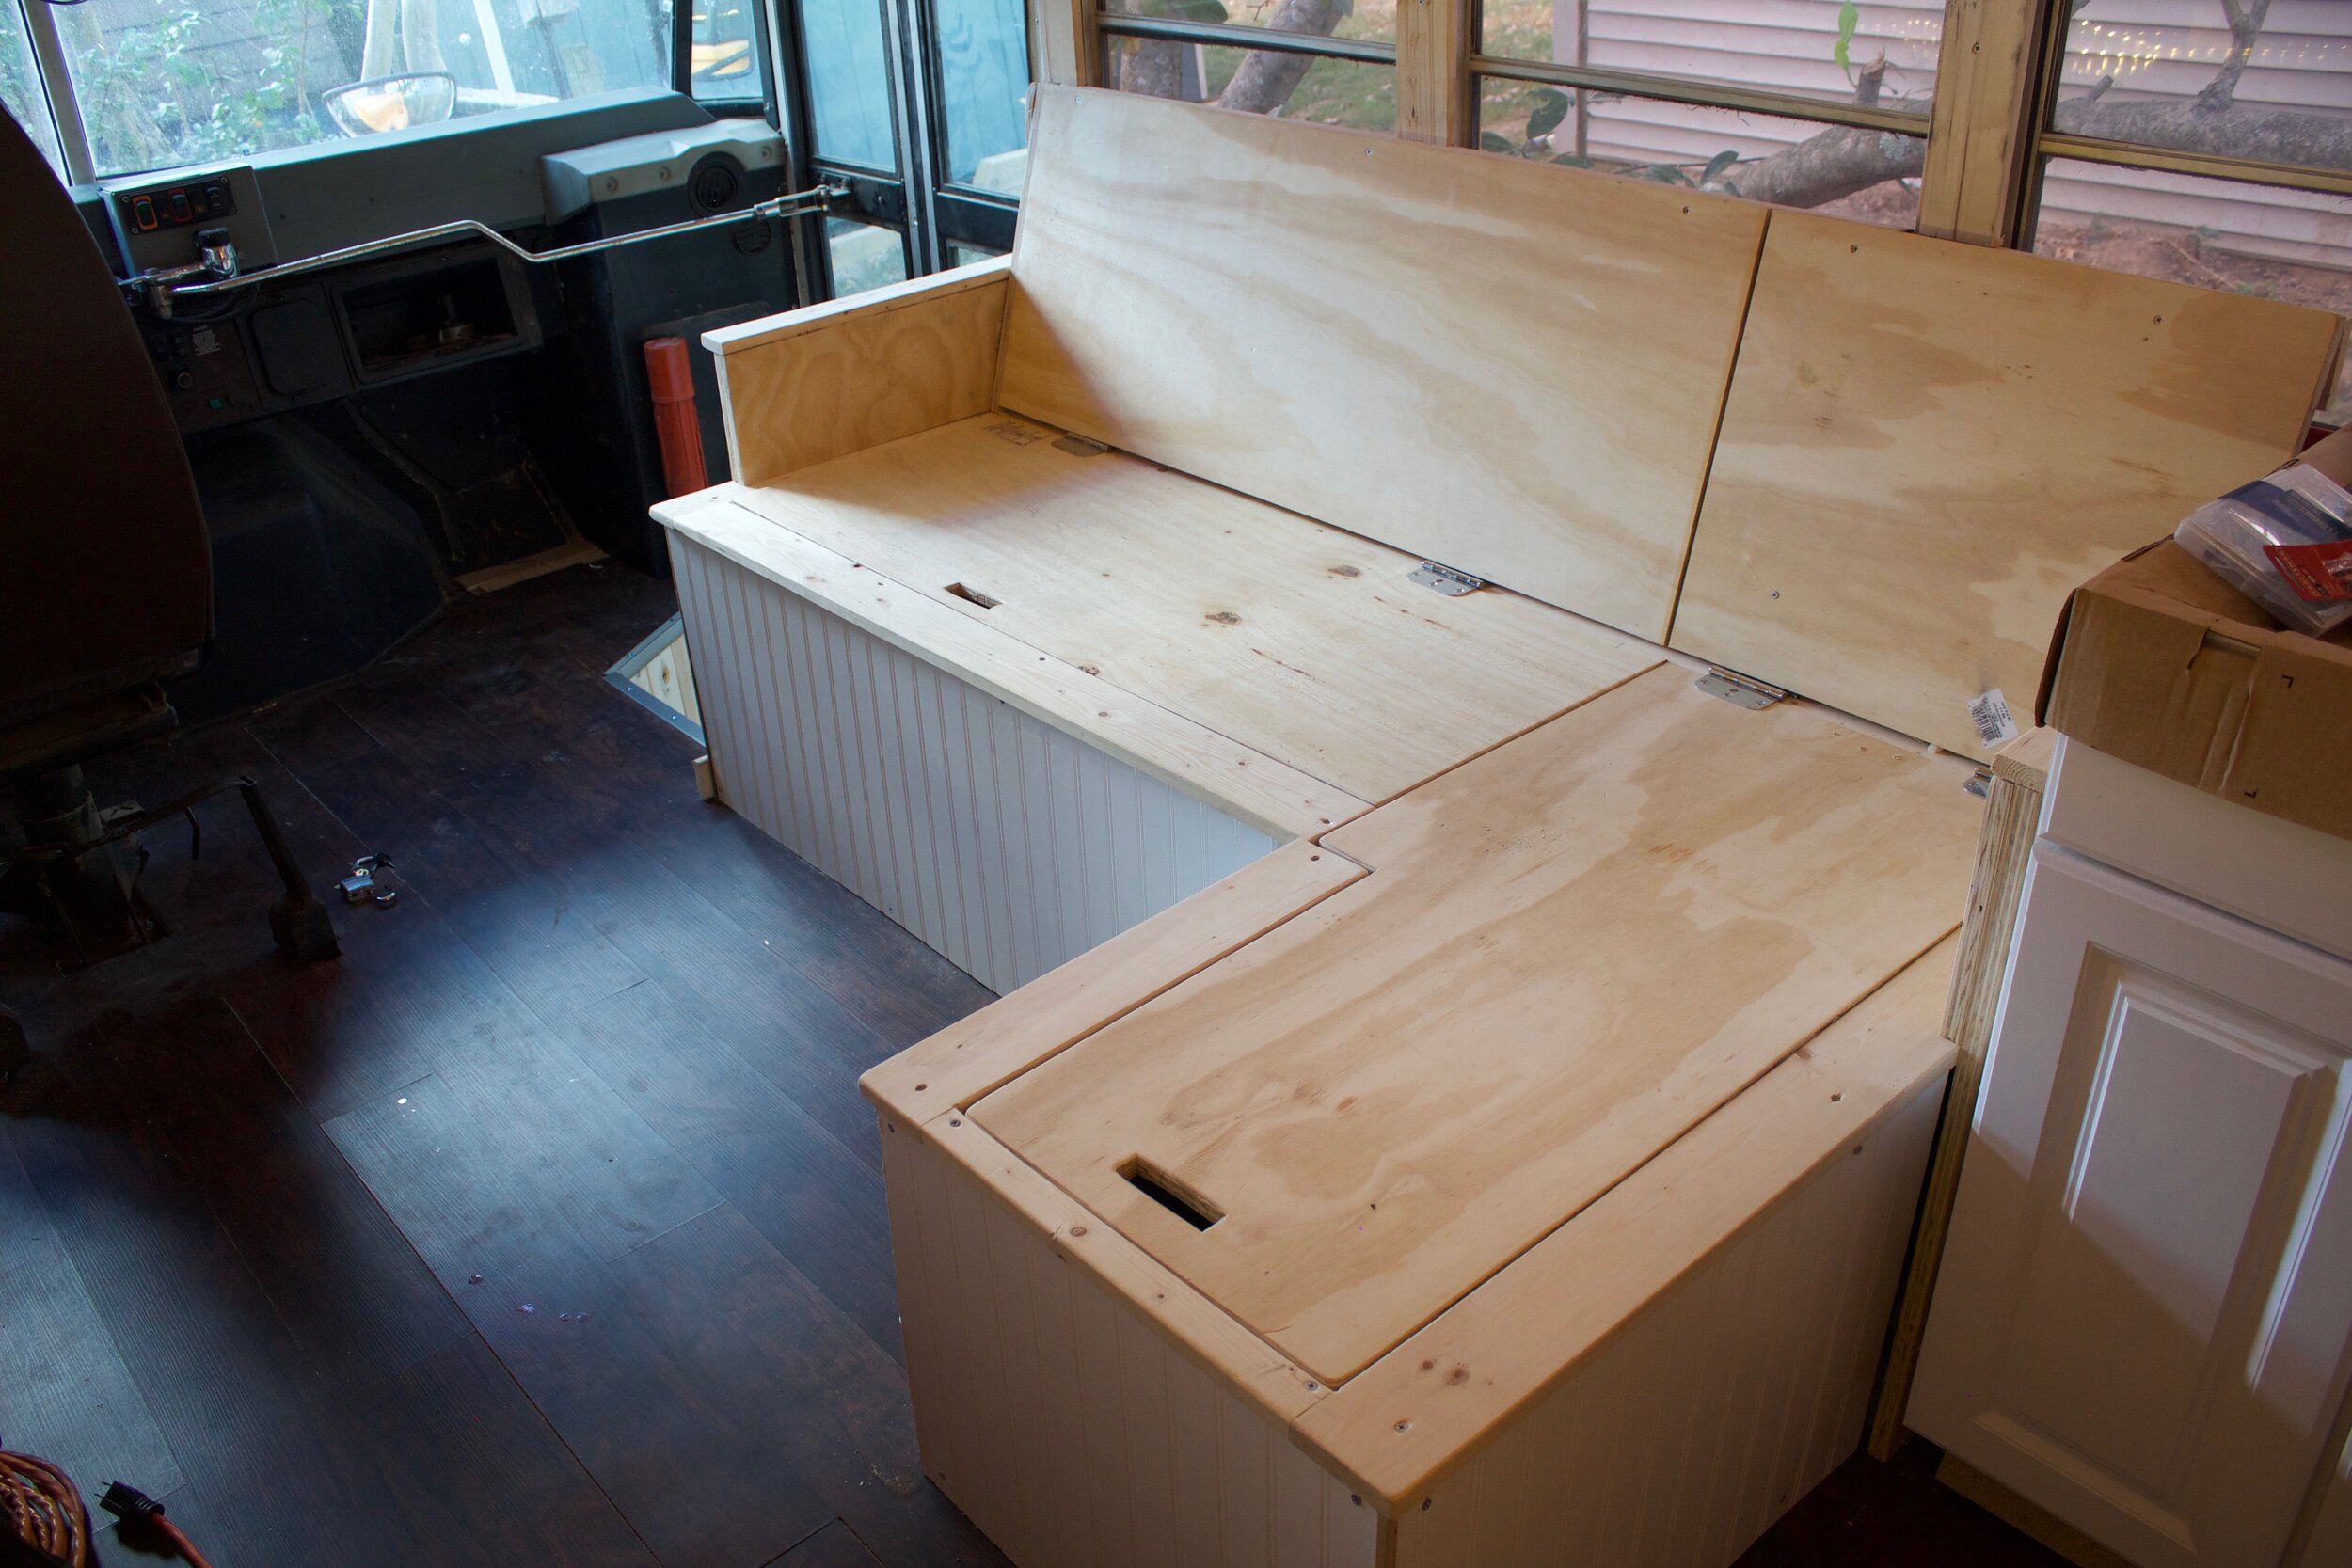
The Couch
We originally wanted to build a slide-out couch like many folks have in their busses. To be honest we questioned our carpentry skills and opted not to in fear of creating a couch we weren’t pleased with. Shifting couch concepts we still wanted the couch to be more than just a couch and we wanted to be able to fit our whole family on the couch. An L shaped couch with storage inside fit the bill so we set out to build it.
We essentially built the frame first starting with the footprint of the couch and moved to building the frame securing into both the floor and a 2x4 that we had previously installed the length of the bus just under the metal lip that the stock seats were attached to. If we’re going to be honest with everyone we DID NOT expect this couch to turn out as well as it did. Perhaps thats why none of the internal supports are at 90 degree angles.. But…thats ok.. at the end of the day…its a bus..
Next up was the seat lids. This took a while as we wanted the lids to fit in the couch without too big of a gap to where it wouldnt be felt when sitting on it (even though there will be cushions someday) but also be able to open and close freely, without resistance. Once the lids were the right size and shape we used two hinges on each lid for storage accessibility.
The next step was to build the back support which was a small feat in its own. How much angle was too much? We had to sit on the couch and imagine we were resting against the back support until we found the back angle we wanted to aim for.
The last part of the couch to build was the armrests. Using the same plywood that made up the back supports and seat lids we glued and screwed them together so that there were no visible screws on the armrests themselves. Then the project panels were added to the outside screwing them directly into the 2x4 frame of the couch.
Since we came up with the couch design on the fly we hope nobody asks us to send it to them…however we will be more than willing to go out and take pictures of it if you need!
The Updated Couch
We went back and forth on the facade of the couch because the lined project panel just wasn’t as nice as we hoped for in a few spots. After finishing some plywood pieces for the sliding entertainment center doors we wanted to use the same wood for the couch.
We measured and cut down our couch panel pieces and then Chelsea had a genius idea…”why not make a cubby for the front of the couch by the front door?” Again…I doubted our carpentry skills and ability to make it but we decided to try it out. First we had to measure what size cubby we would be able to fit as the frame of the couch was already built and we didn’t want to have to mess with it. After we had our cubby size we used some scrap wood and formed the cubby and then simply glued it together. Once we did a rough in with the cubby we sanded and stained it.
Then we cut measured and cut out the rectangle for the cubby in the plywood facade of the couch. Once the glued cubby was dry we slid it into the hole and started measuring for the trim pieces that would go around it.
Materials we used:
11/32 Plywood - Home Depot
4 x simple hinges - Home Depot
Project panel board (white facade) - Home Depot
2x4s for framing - Home Depot
Tools we used:
Ryobi 18v power drill - Amazon
Ryobi 18v Circular Saw - Amazon
Dewalt Miter Saw - Our awesome neighbor, Doug! Thanks, Doug!


